
Getting Started with Android Studio
Estimated time: 15 minutes
Objectives
After completing this lab, you will be able to:
- Set up an Android Virtual Device (AVD)
- Understand the different features of Android Studio
Running the lab
This is an instructional lab that does not require a Skills Network lab environment. You will follow this lab on your local machine.
Key terms
Android Virtual Device (AVD): An emulator configuration that lets you model an actual device by specifying hardware and software options to be emulated by the Android Emulator.
Emulator: A software that allows you to test and debug your Android applications without using a physical device.
Gradle: An open-source build automation tool that is used to automate building, testing, and deploying applications. Android Studio uses Gradle to manage project dependencies and build processes. You won't need to work with Gradle directly, but it's good to understand what it means.
eXtensible Markup Language (XML): A markup language used for defining data structures, commonly used in Android development for designing user interface layouts. You will be designing a login screen in a drag-and-drop interface. This will produce an XML behind the scenes.
Java/Kotlin: Programming languages used for Android development. Java is the traditional language, while Kotlin is a more modern language that is fully interoperable with Java. We will use Java for this course. Don't worry, we will take you step by step in all the labs. We do not expect you to know Java.
Logcat: A command-line tool that dumps a log of system messages, including stack traces when the device throws an error and messages written from applications with the Log class. You might have to deal with logs to debug your application.
Setting up Android development environment
This lab assumes that you have already installed the Android Studio and have downloaded the SDK after running the installer. You should have created a project at this time. We will now run the project using a device and explain other features of the Android Studio IDE.
Set up Android Studio
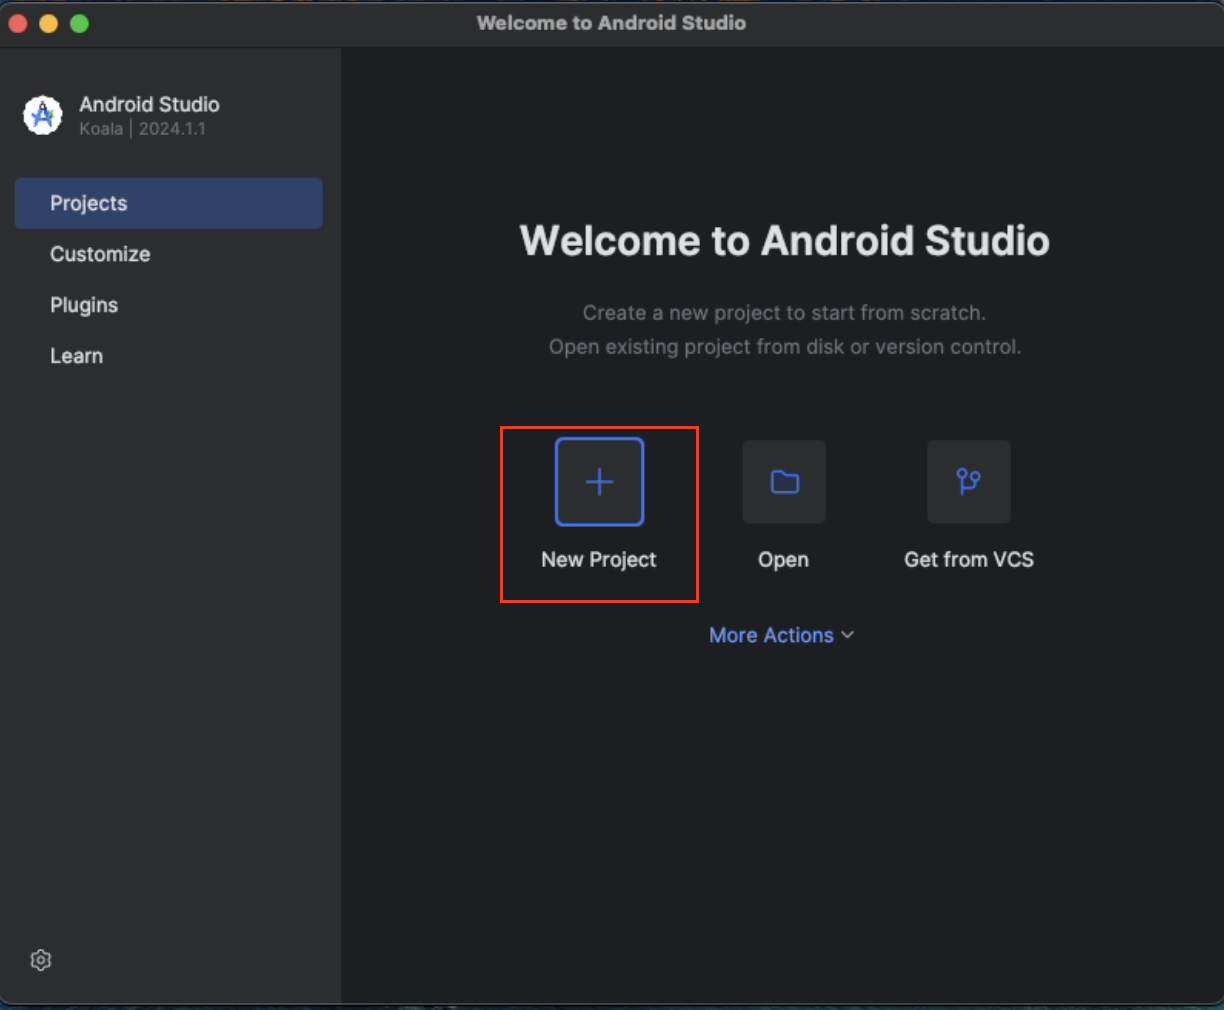
Launch Android Studio if you closed the previous window. It is time to create your first project. We will just use the built-in template. First, create a new project.
Next, pick
Phone and TabletandEmpty Views Activityas the project type.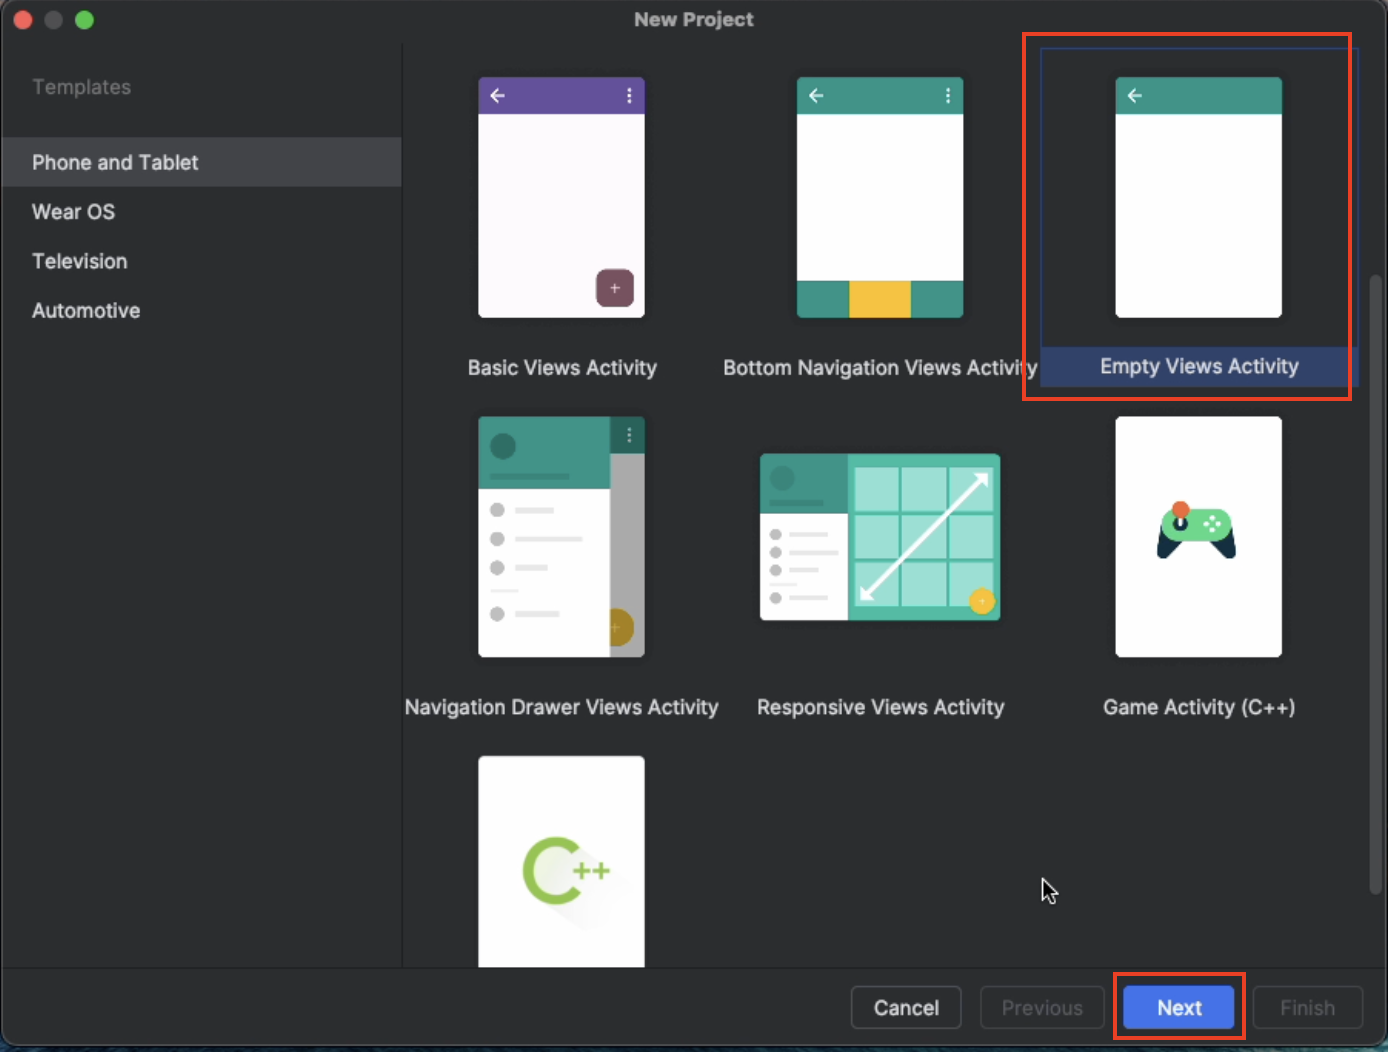
You will now name your project and pick
Javaas the language for coding the project.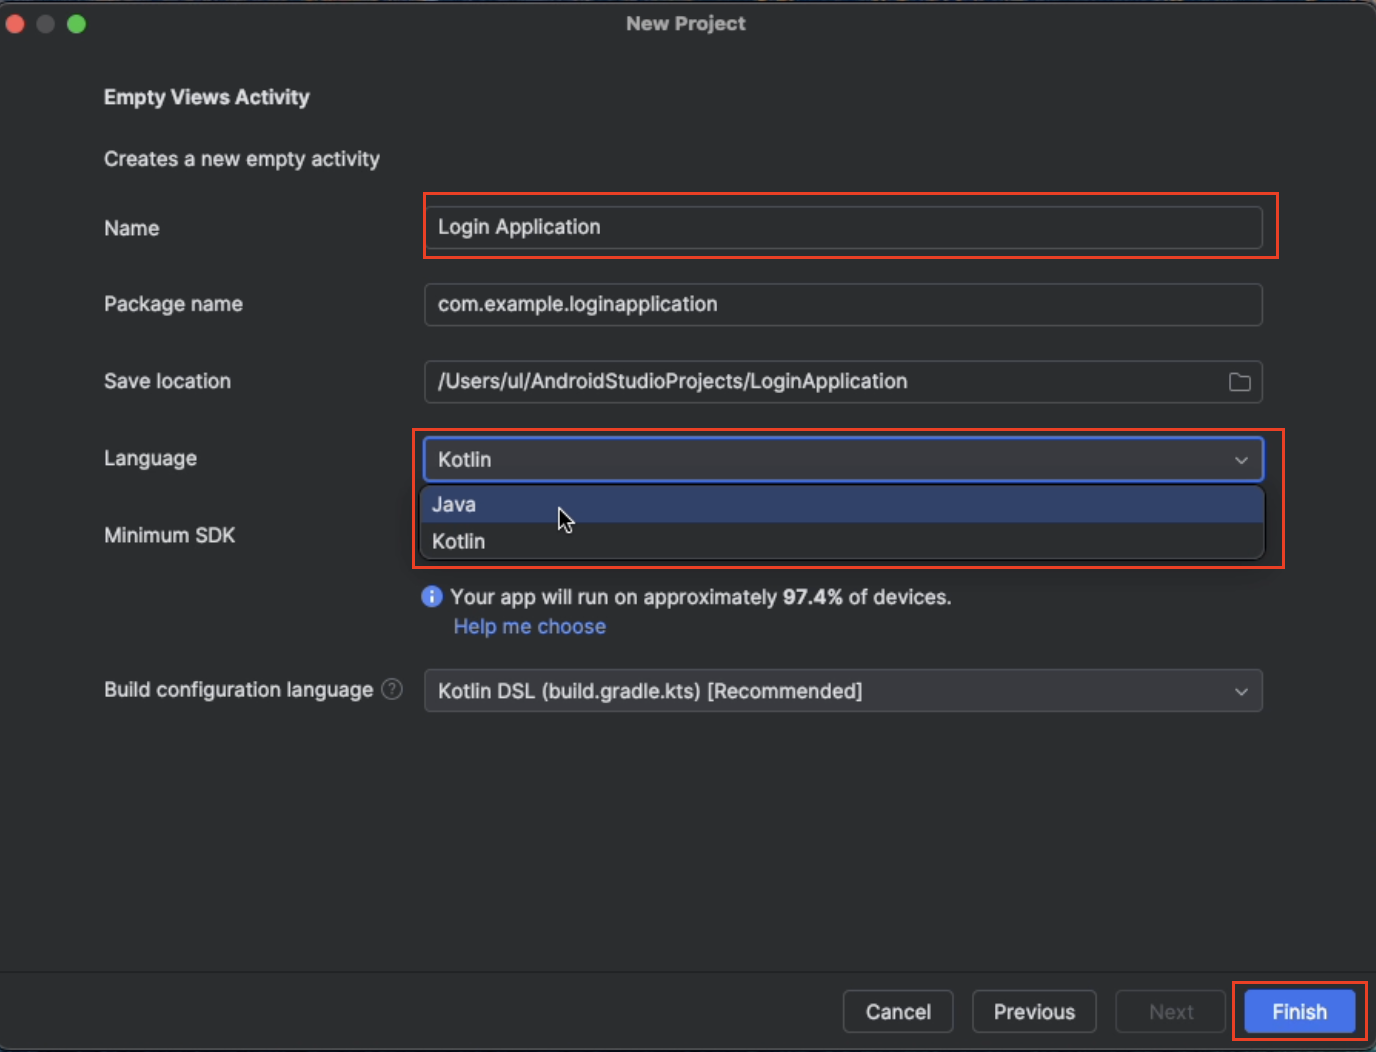
Finally, select
Finishand you will be brought into Android Studio.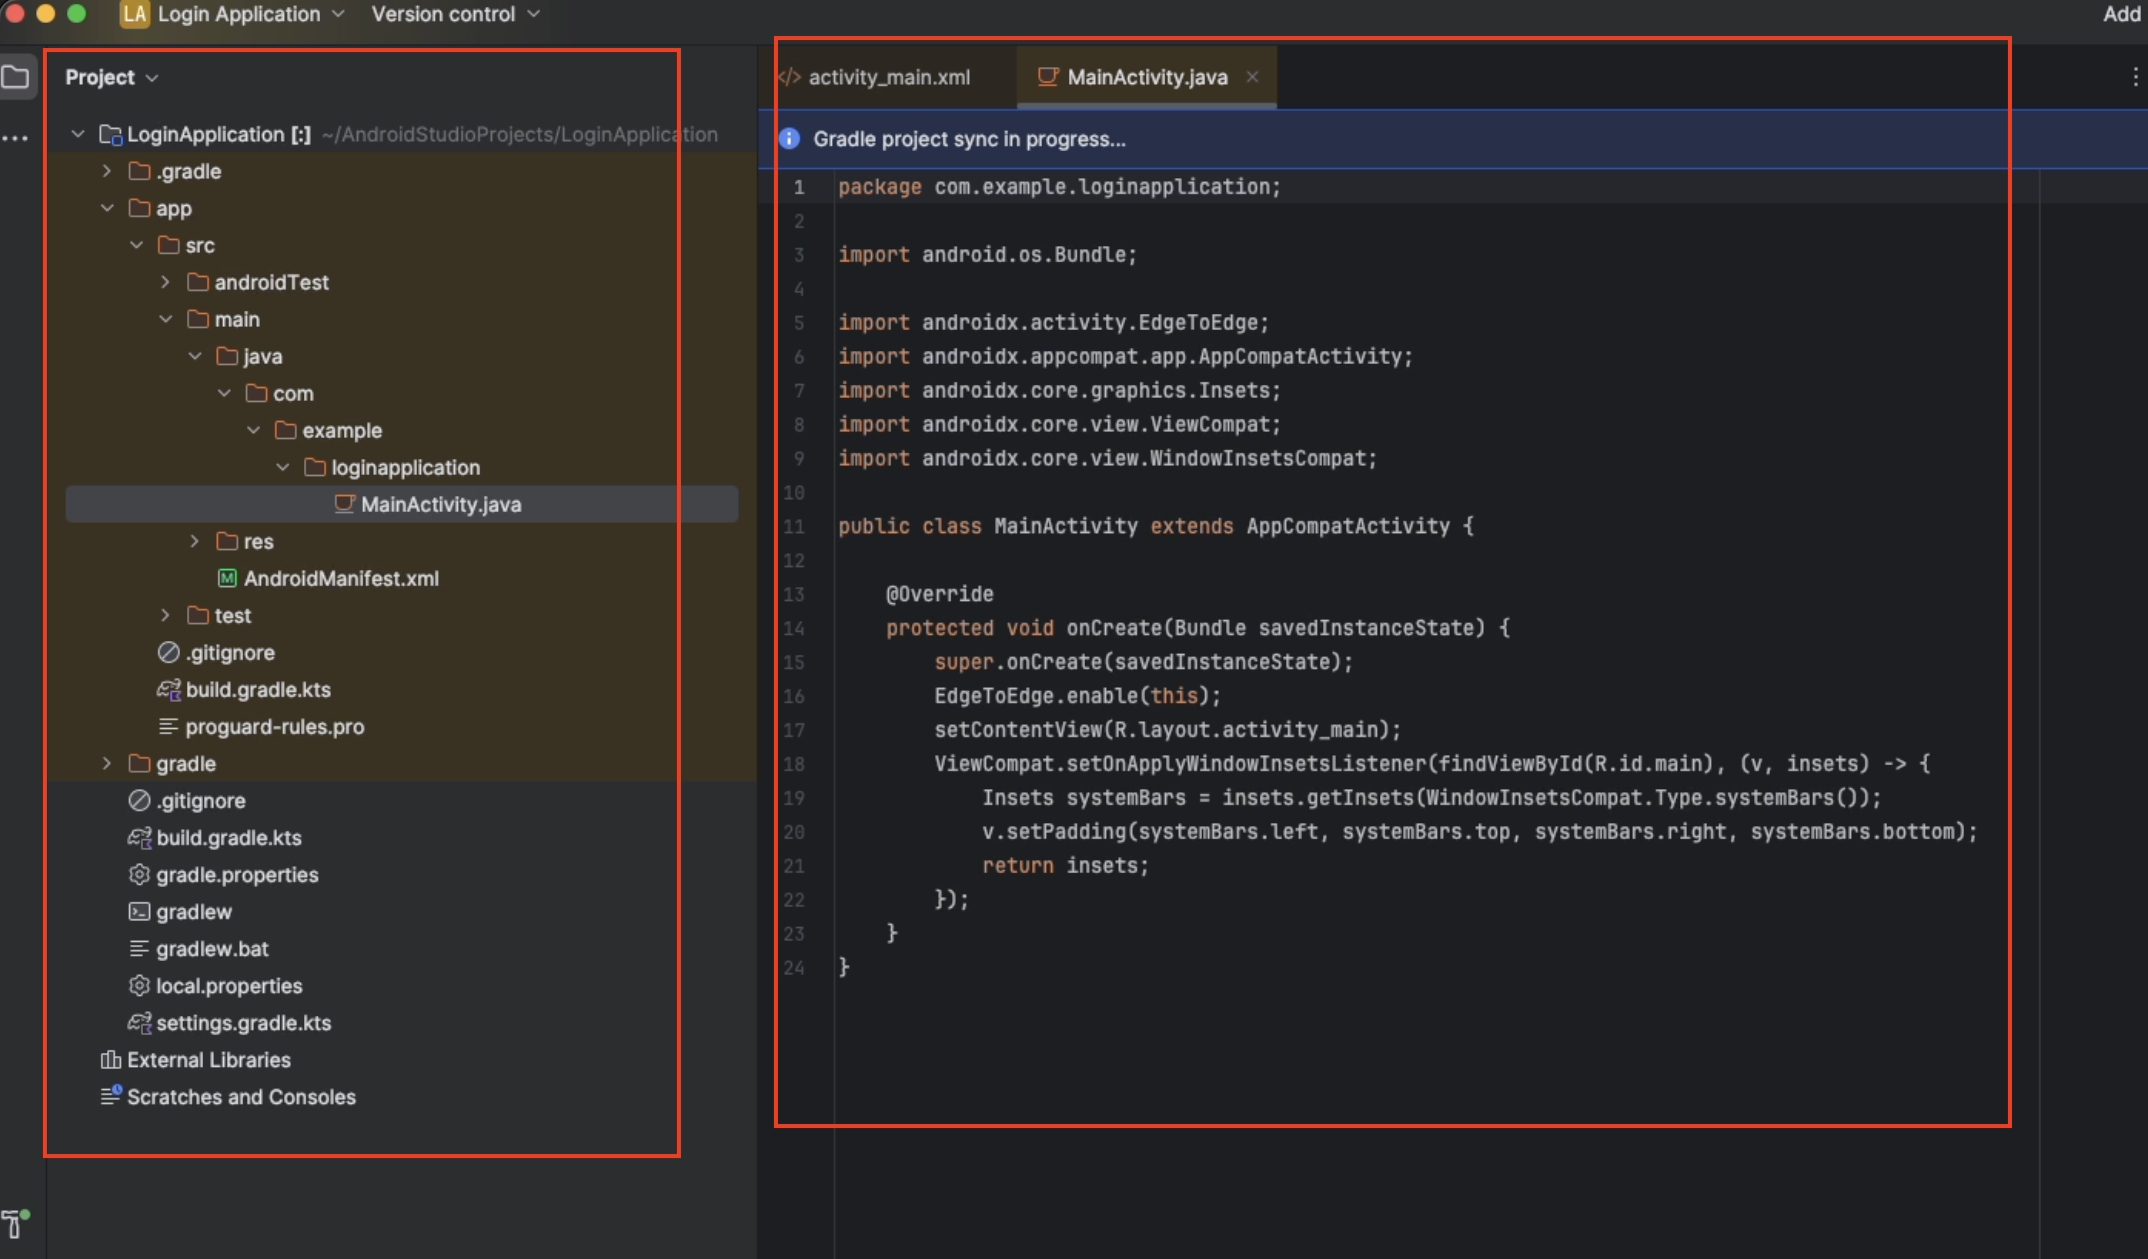
Explore Android Studio
Note the following areas:
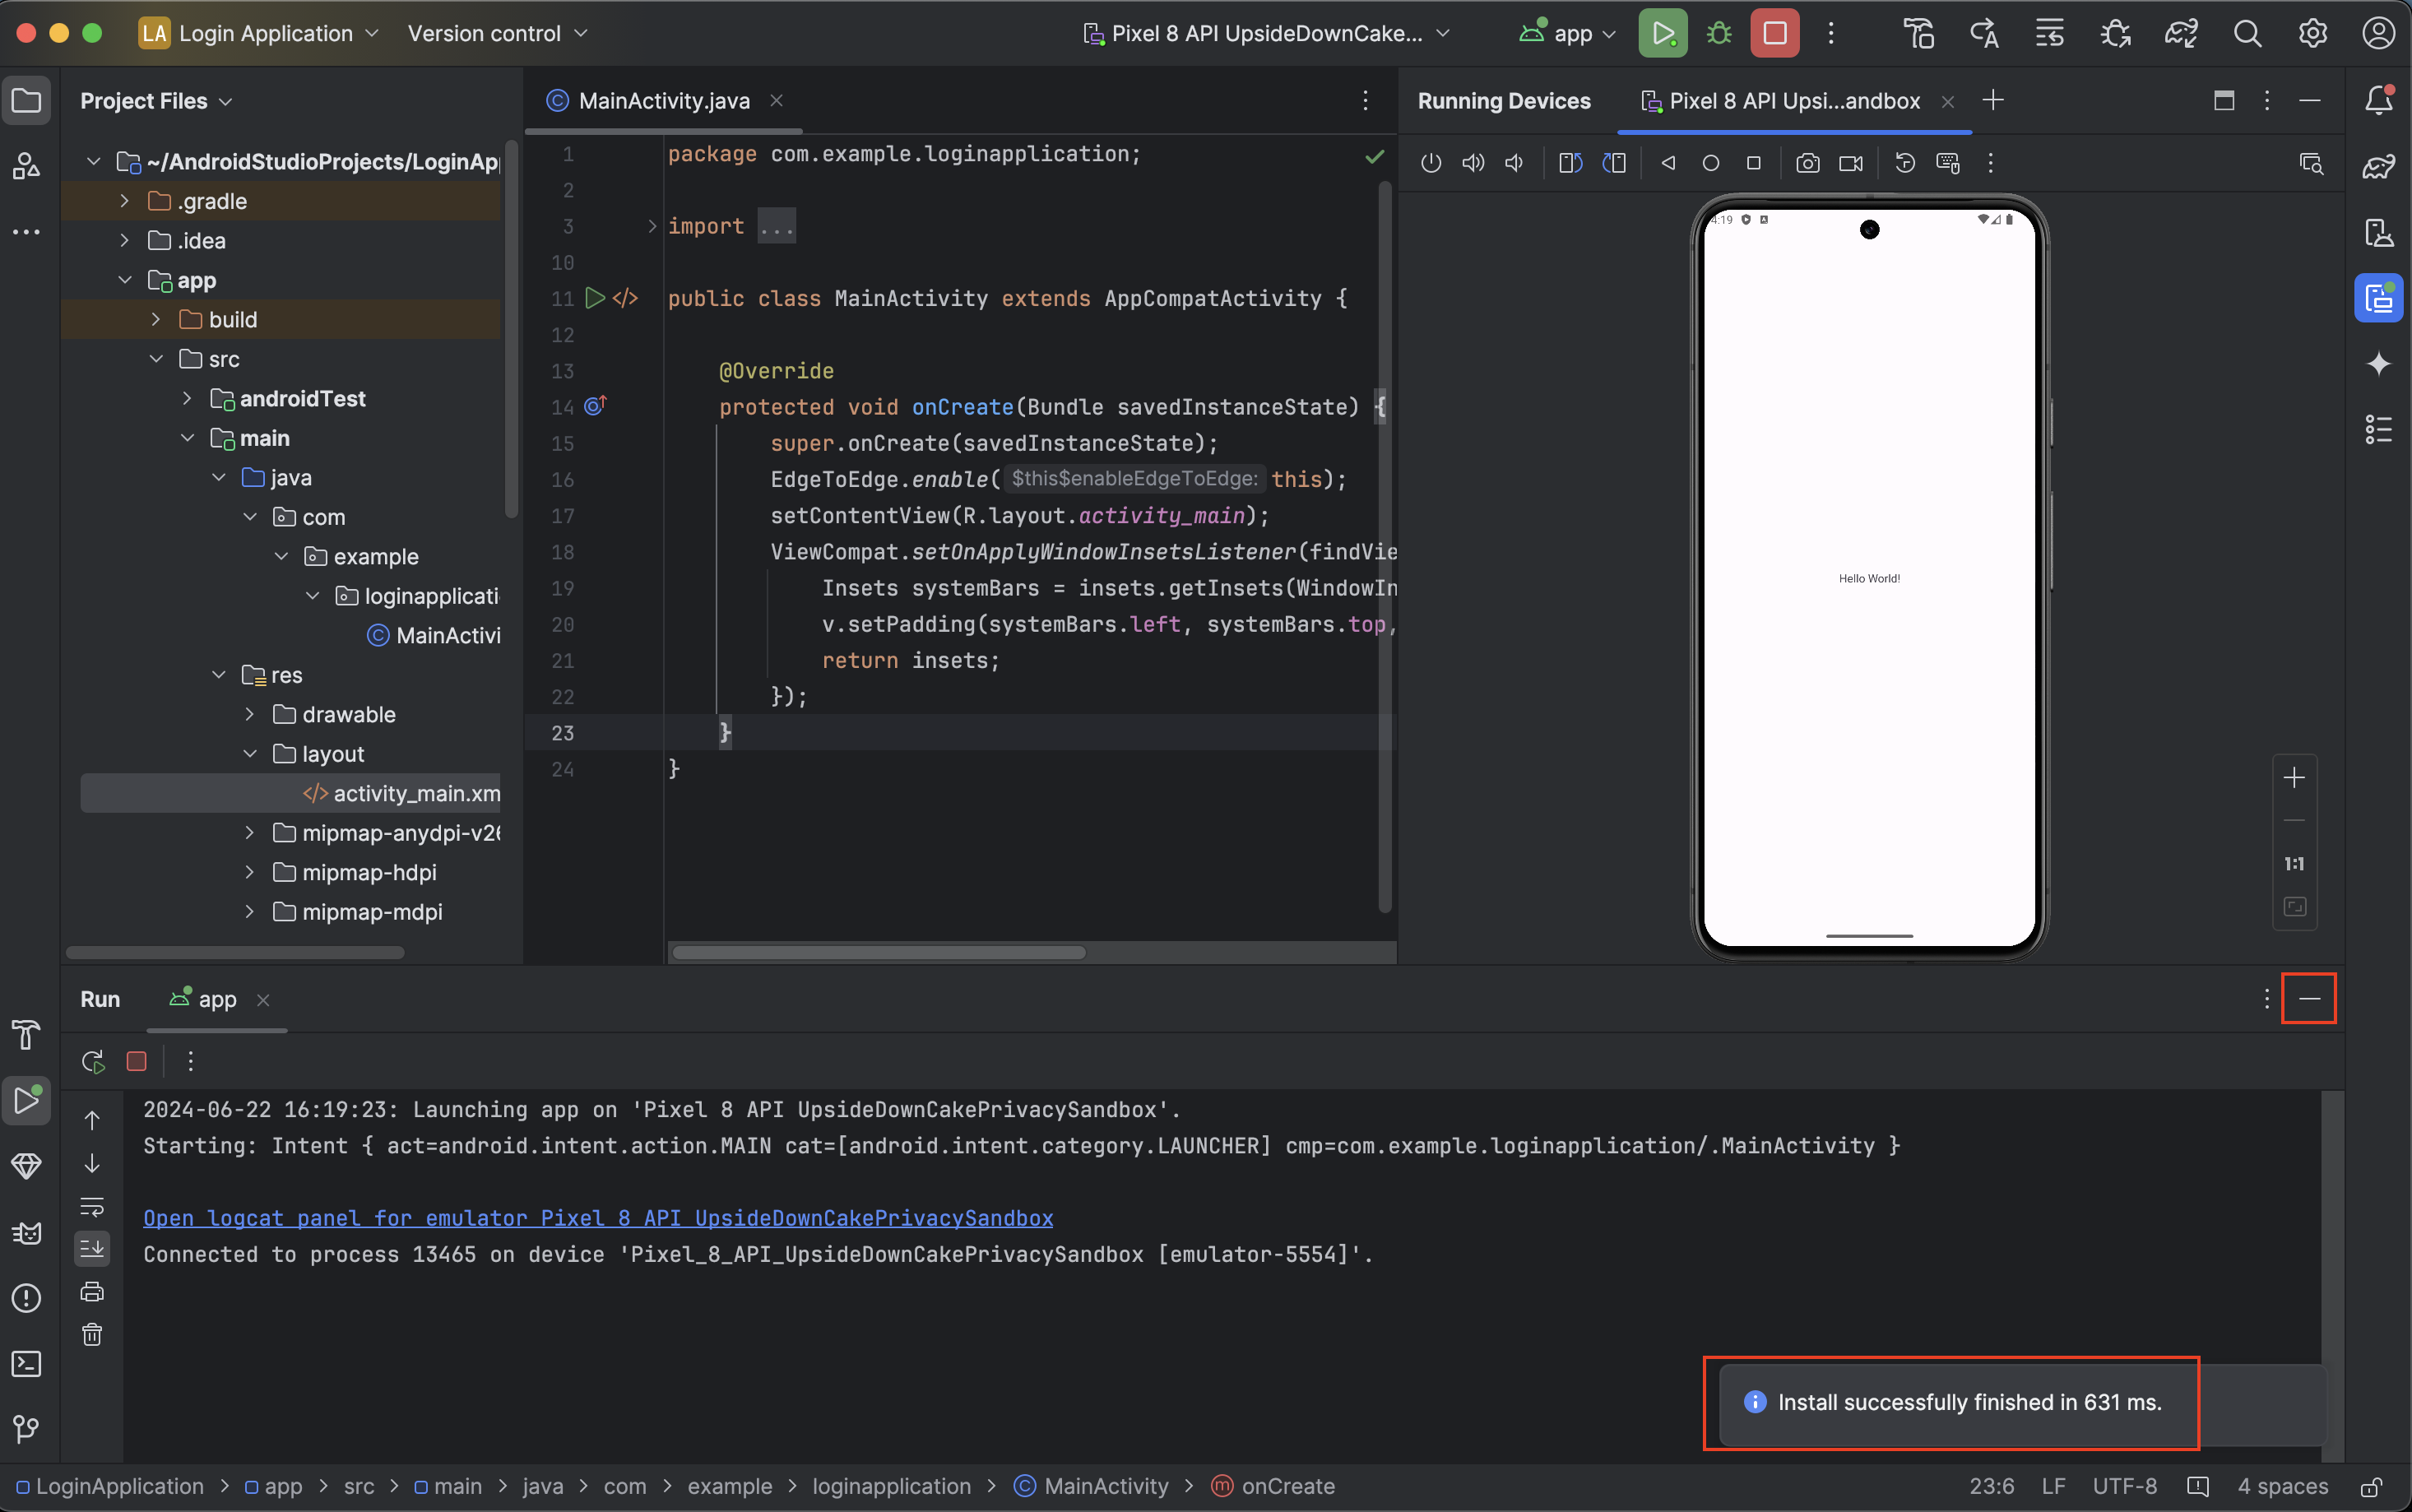
- Project Tool Window (Left Panel): Provides a hierarchical view of your project files and directories. This area is crucial for navigating through your project's structure.
- Code Editor (Center Panel): Where you write and
edit your code. In the image, the
MainActivity.javafile is open, showing the Java code for the main activity of the application.
Click around the different areas to explore more!
Set up an Android Virtual Device (AVD)
After setting up Android Studio and the SDK, you need to download an AVD to test your applications. Go to Tools > AVD Manager. Alternatively, select the
Device Managericon on the right panel.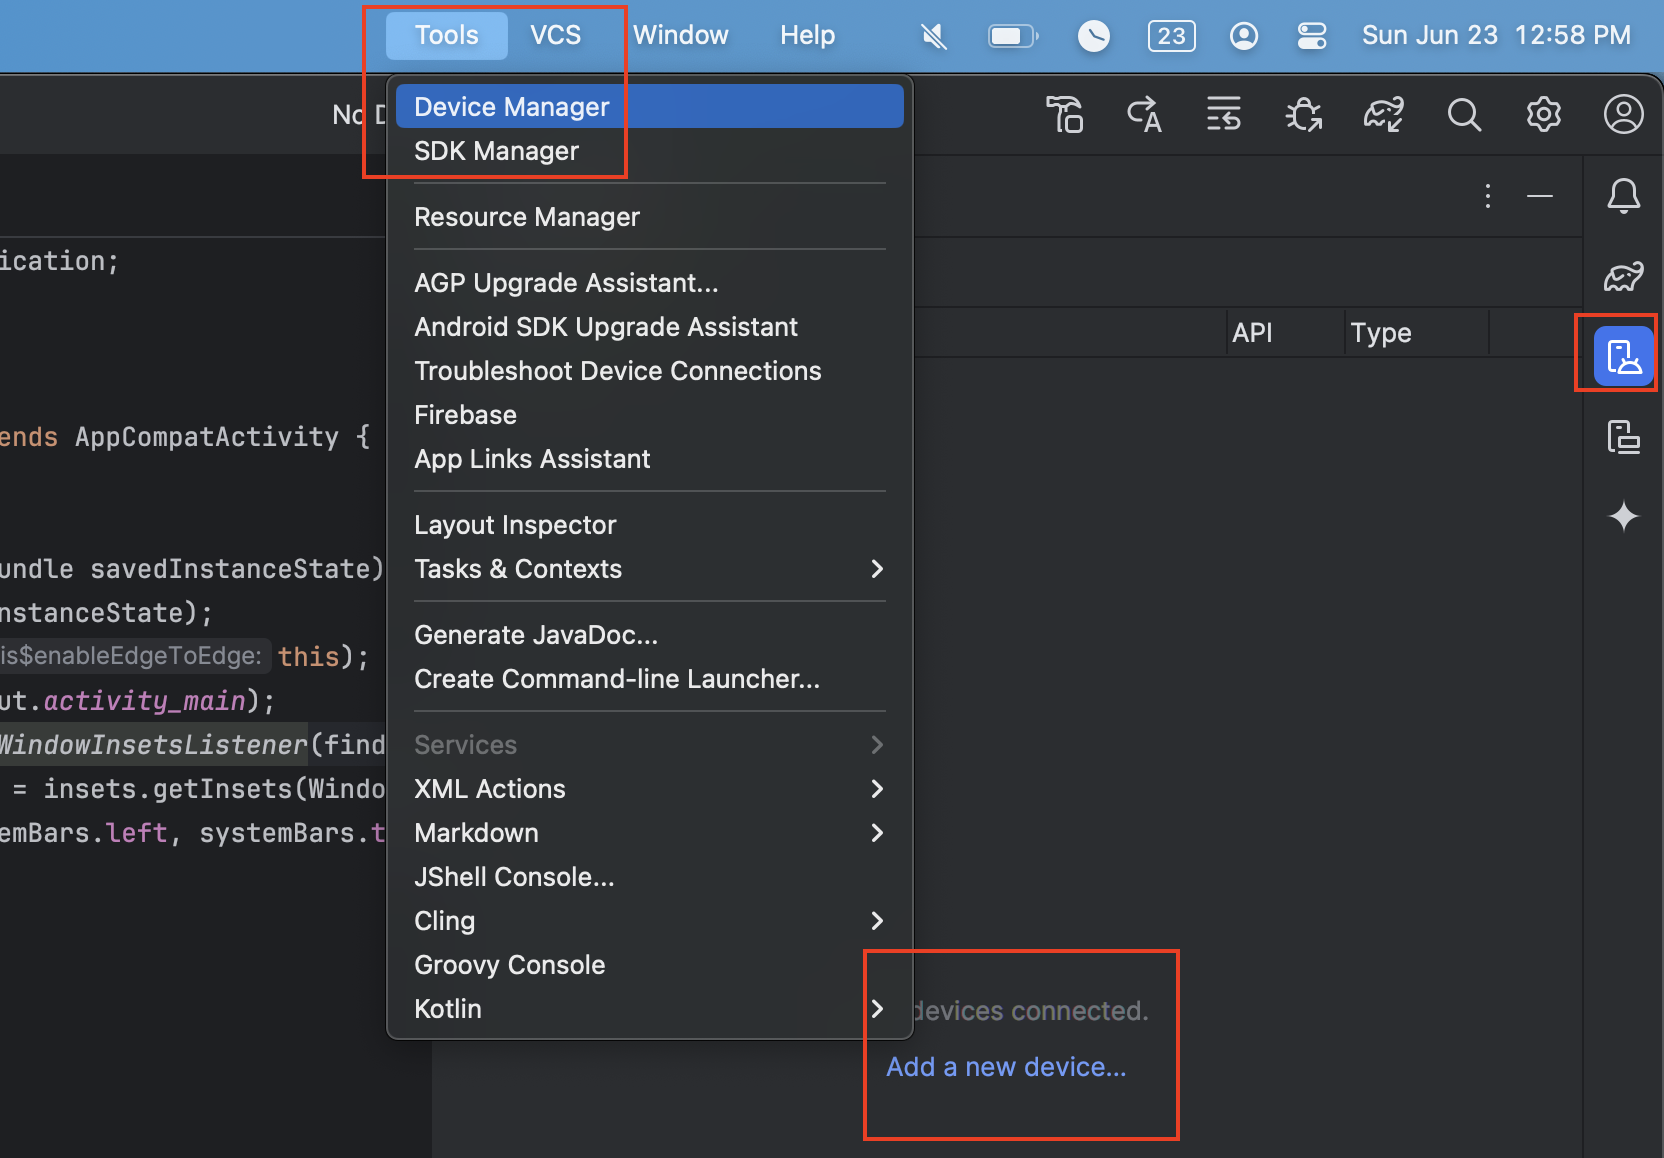
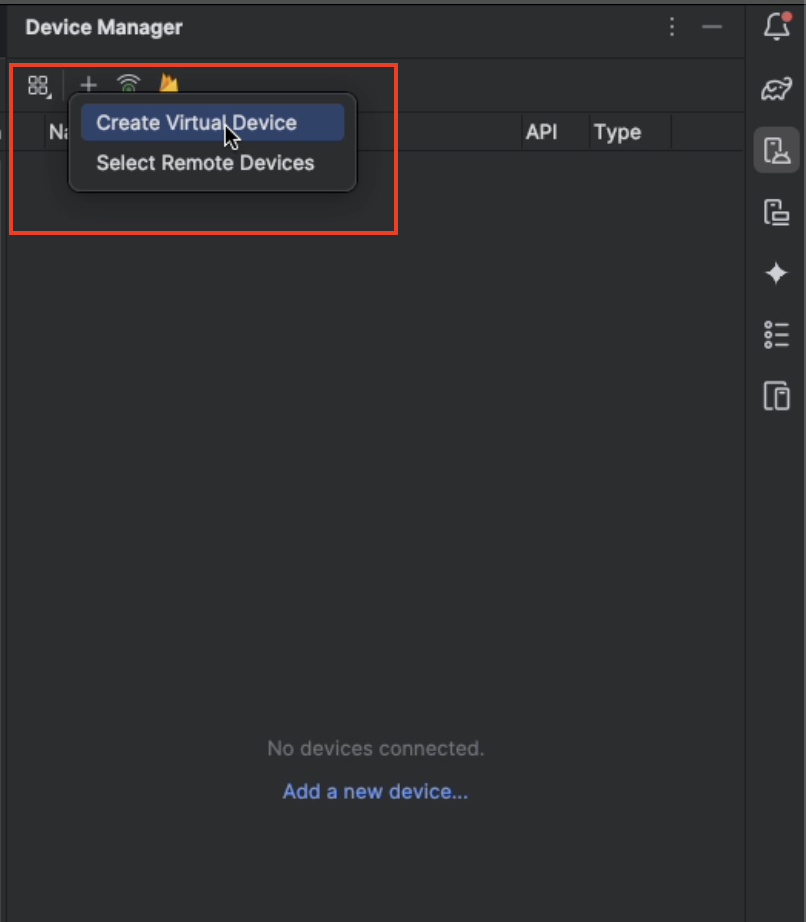
Select Create Virtual Device.
Select a hardware. The screenshot shows
Pixel 8selected. This is a popular Android phone by Google.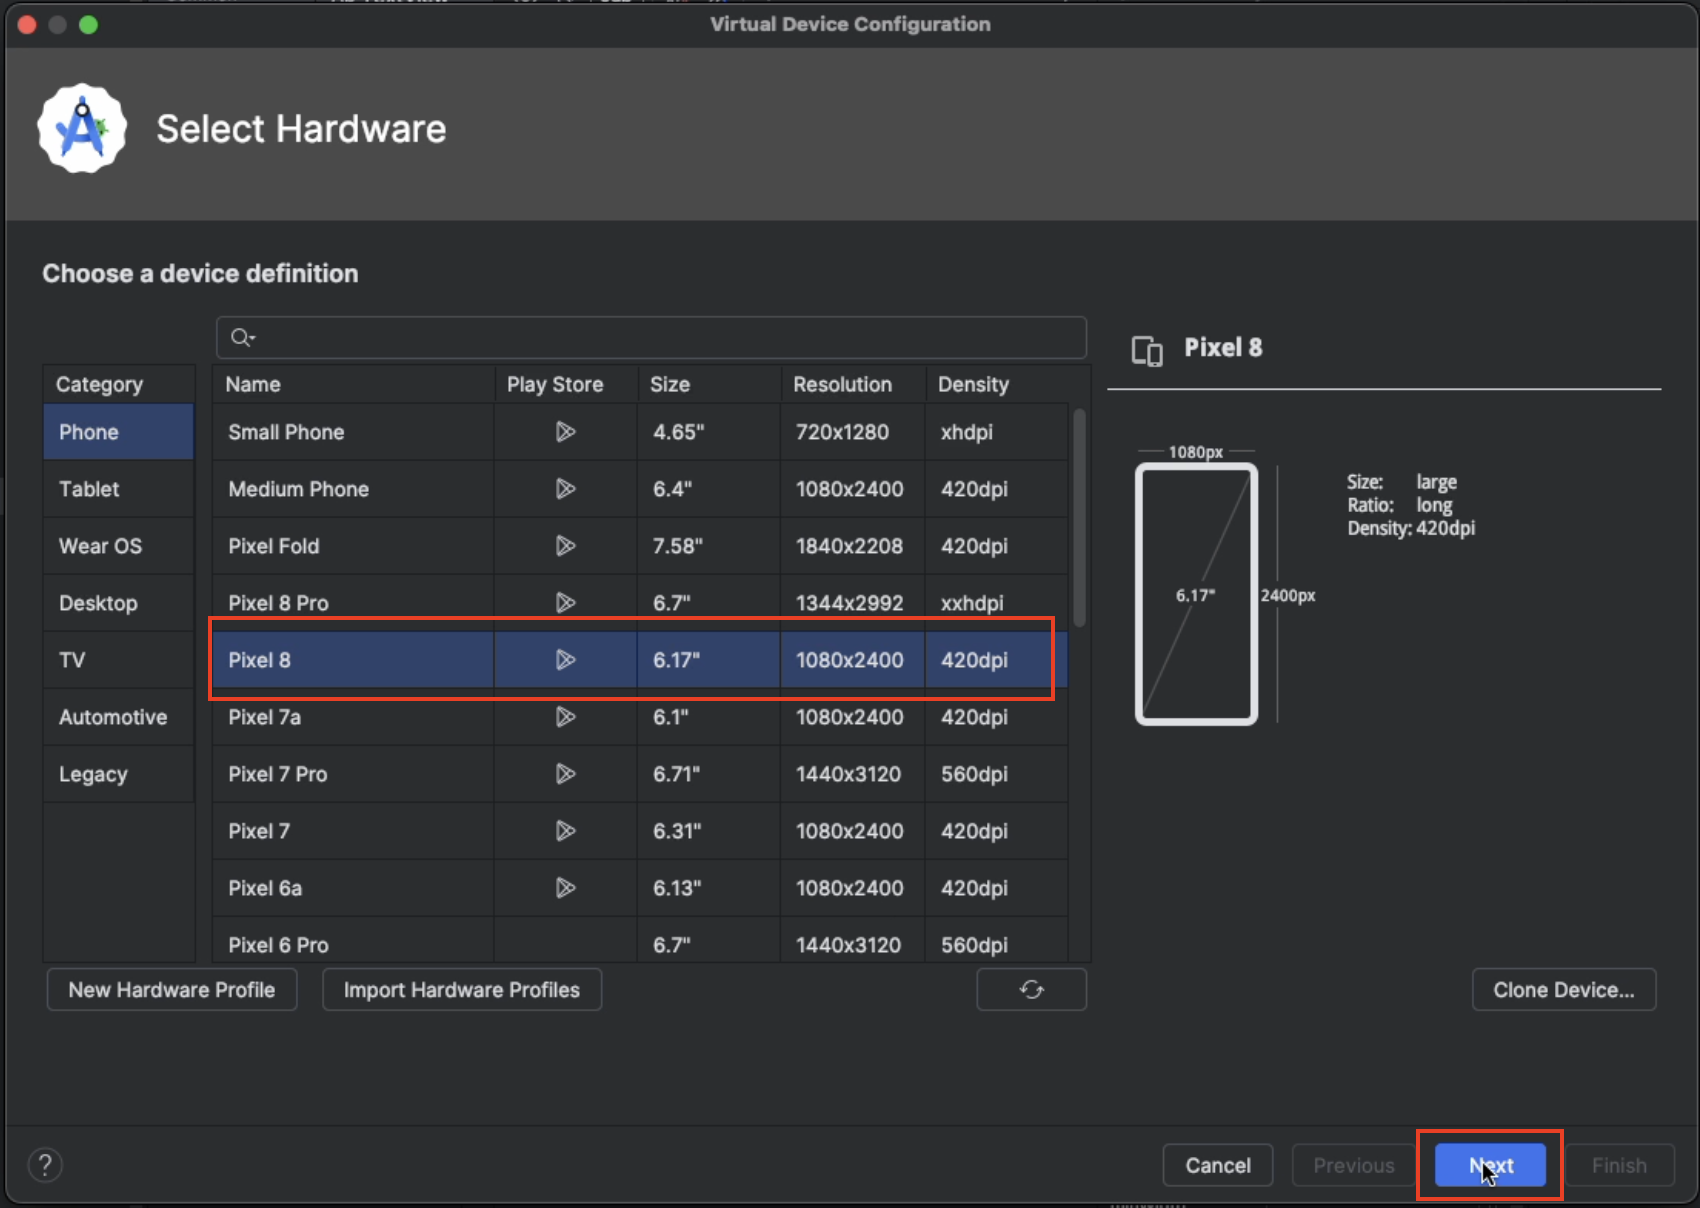
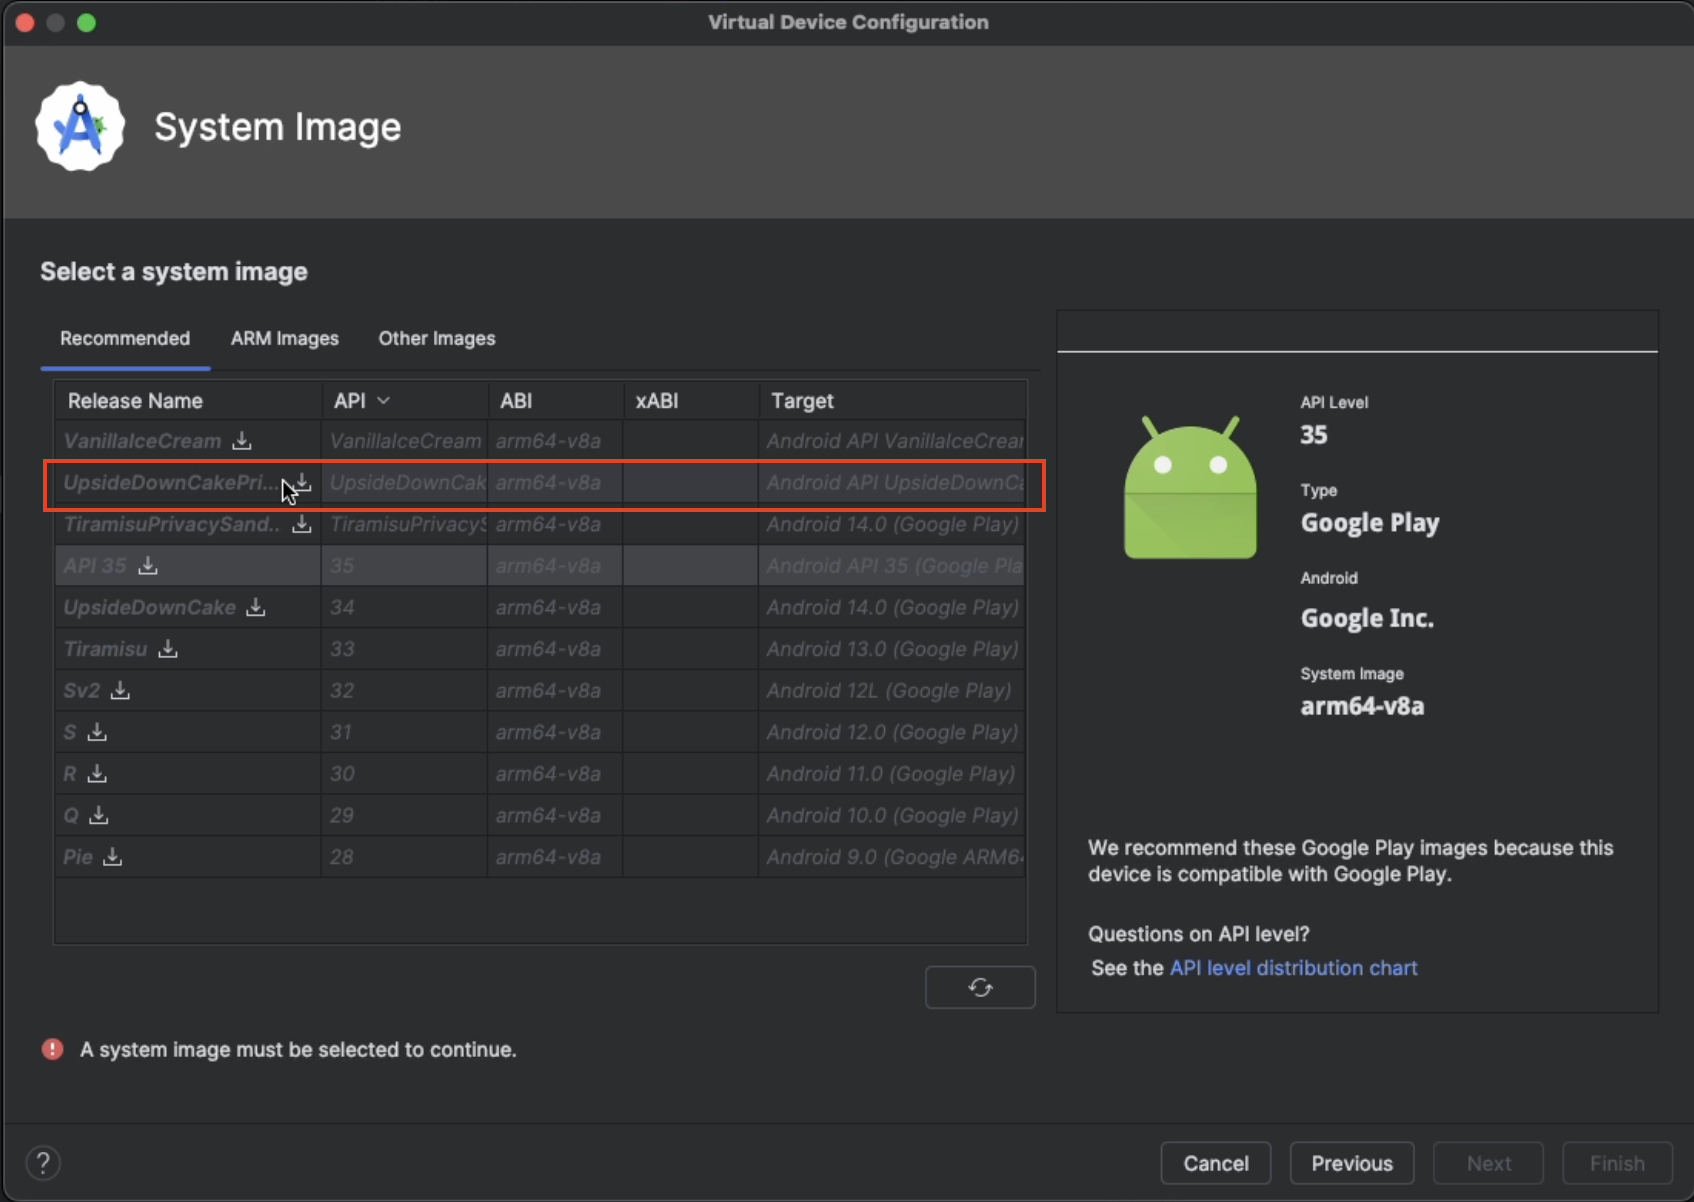
Select a system image next. Pick something from the top of the list.
Select
Finishafter the SDK has been downloaded.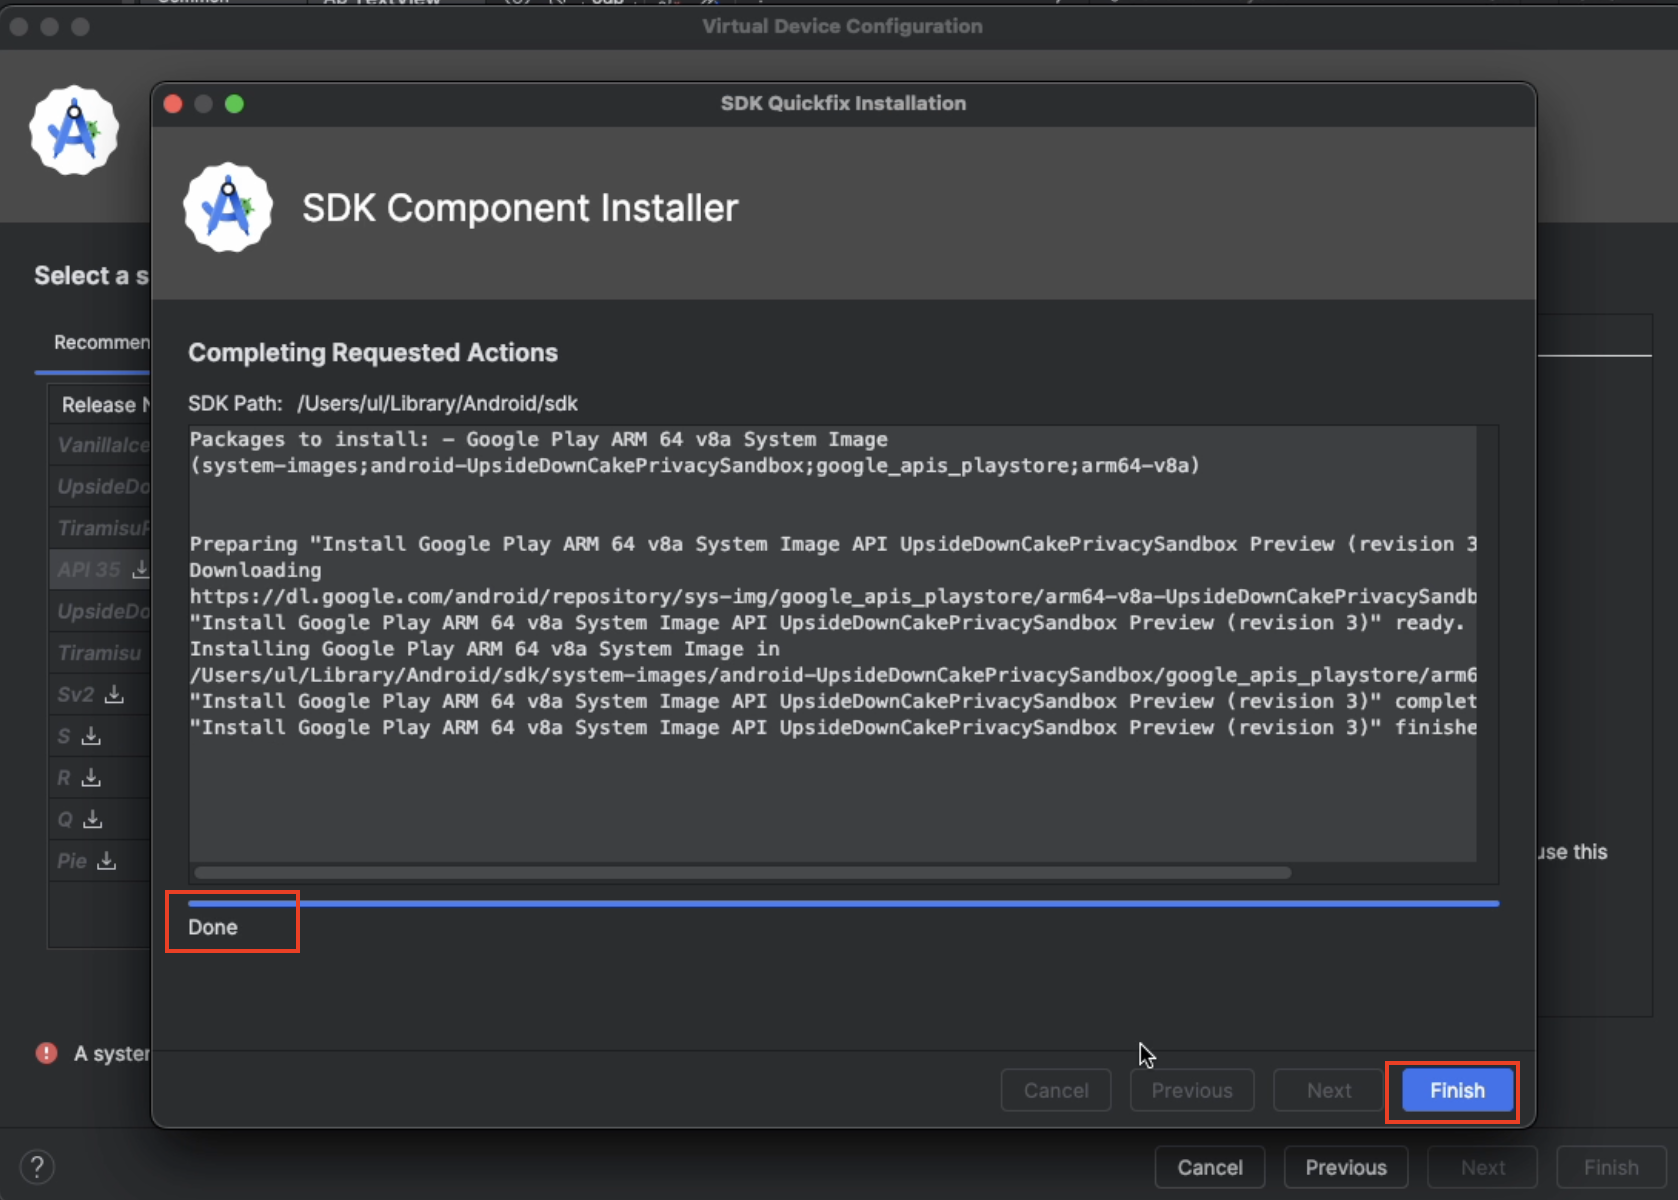
You will be taken back to the
System Imagewizard. SelectNextto move along.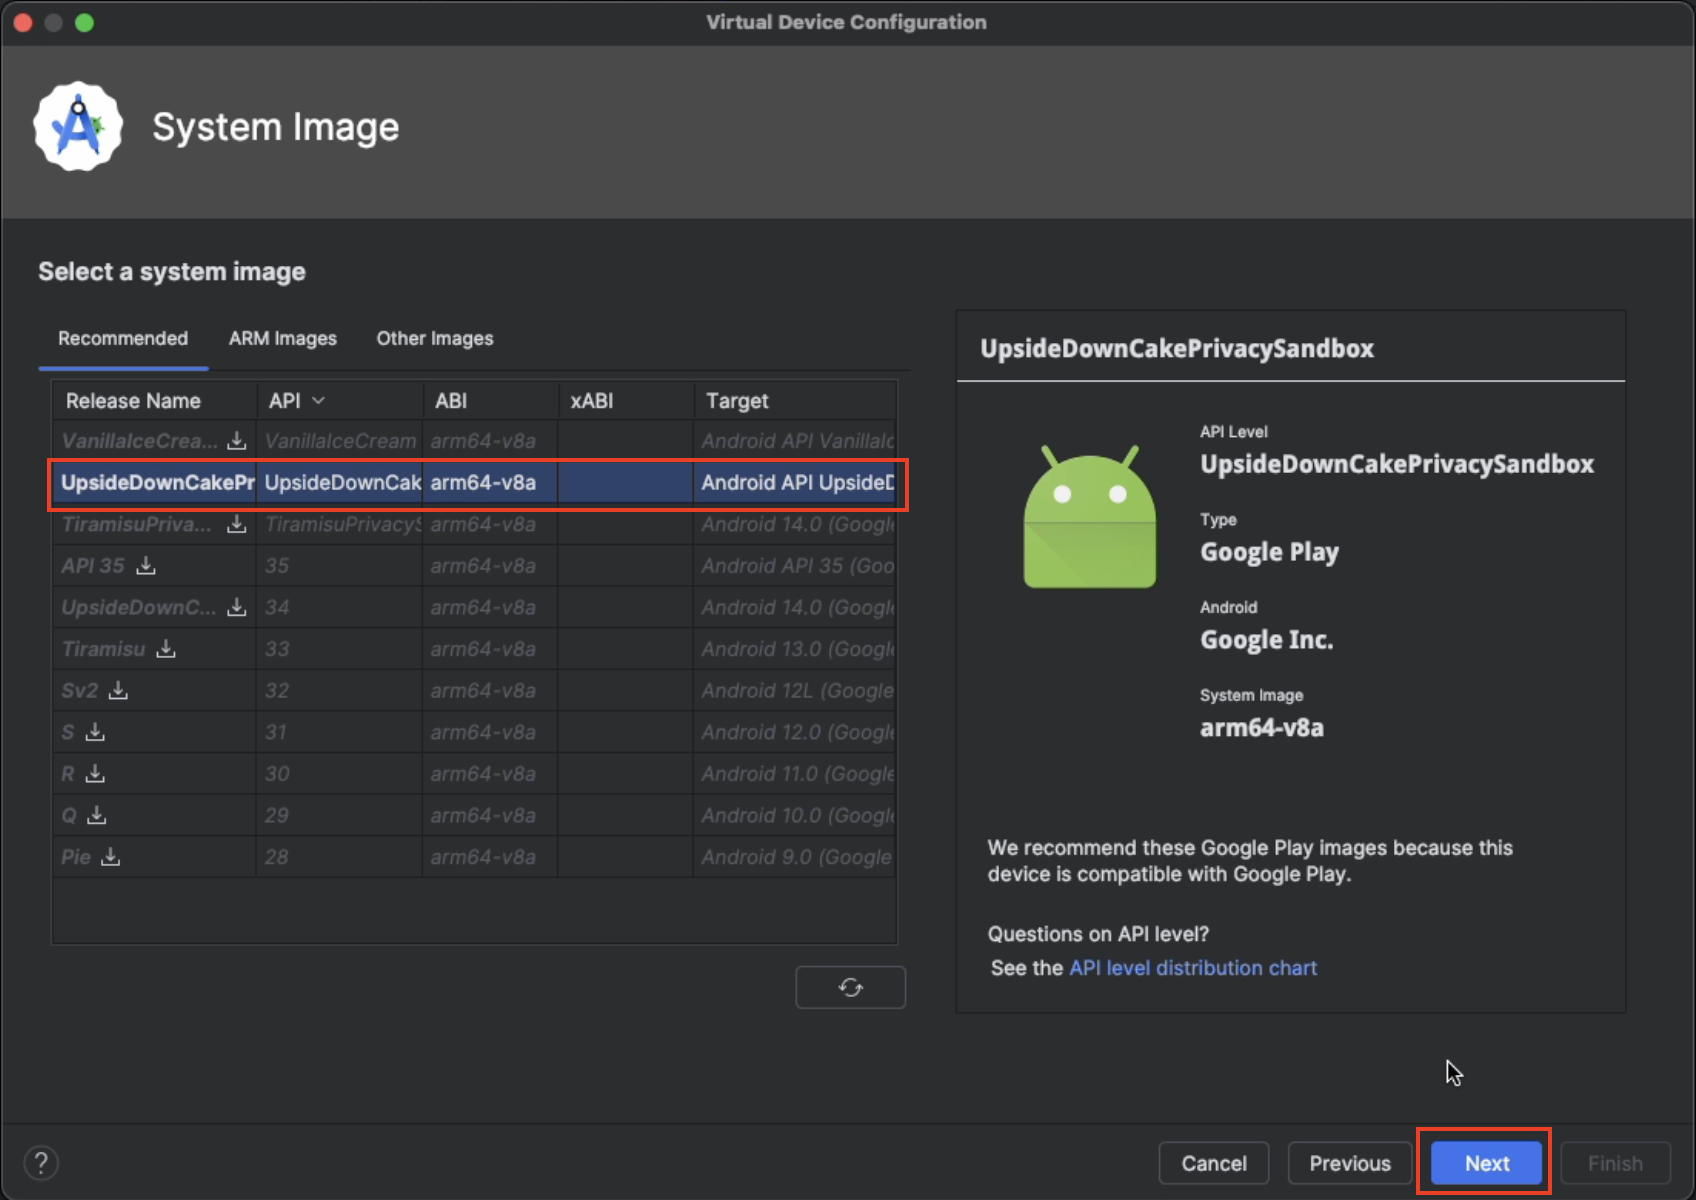
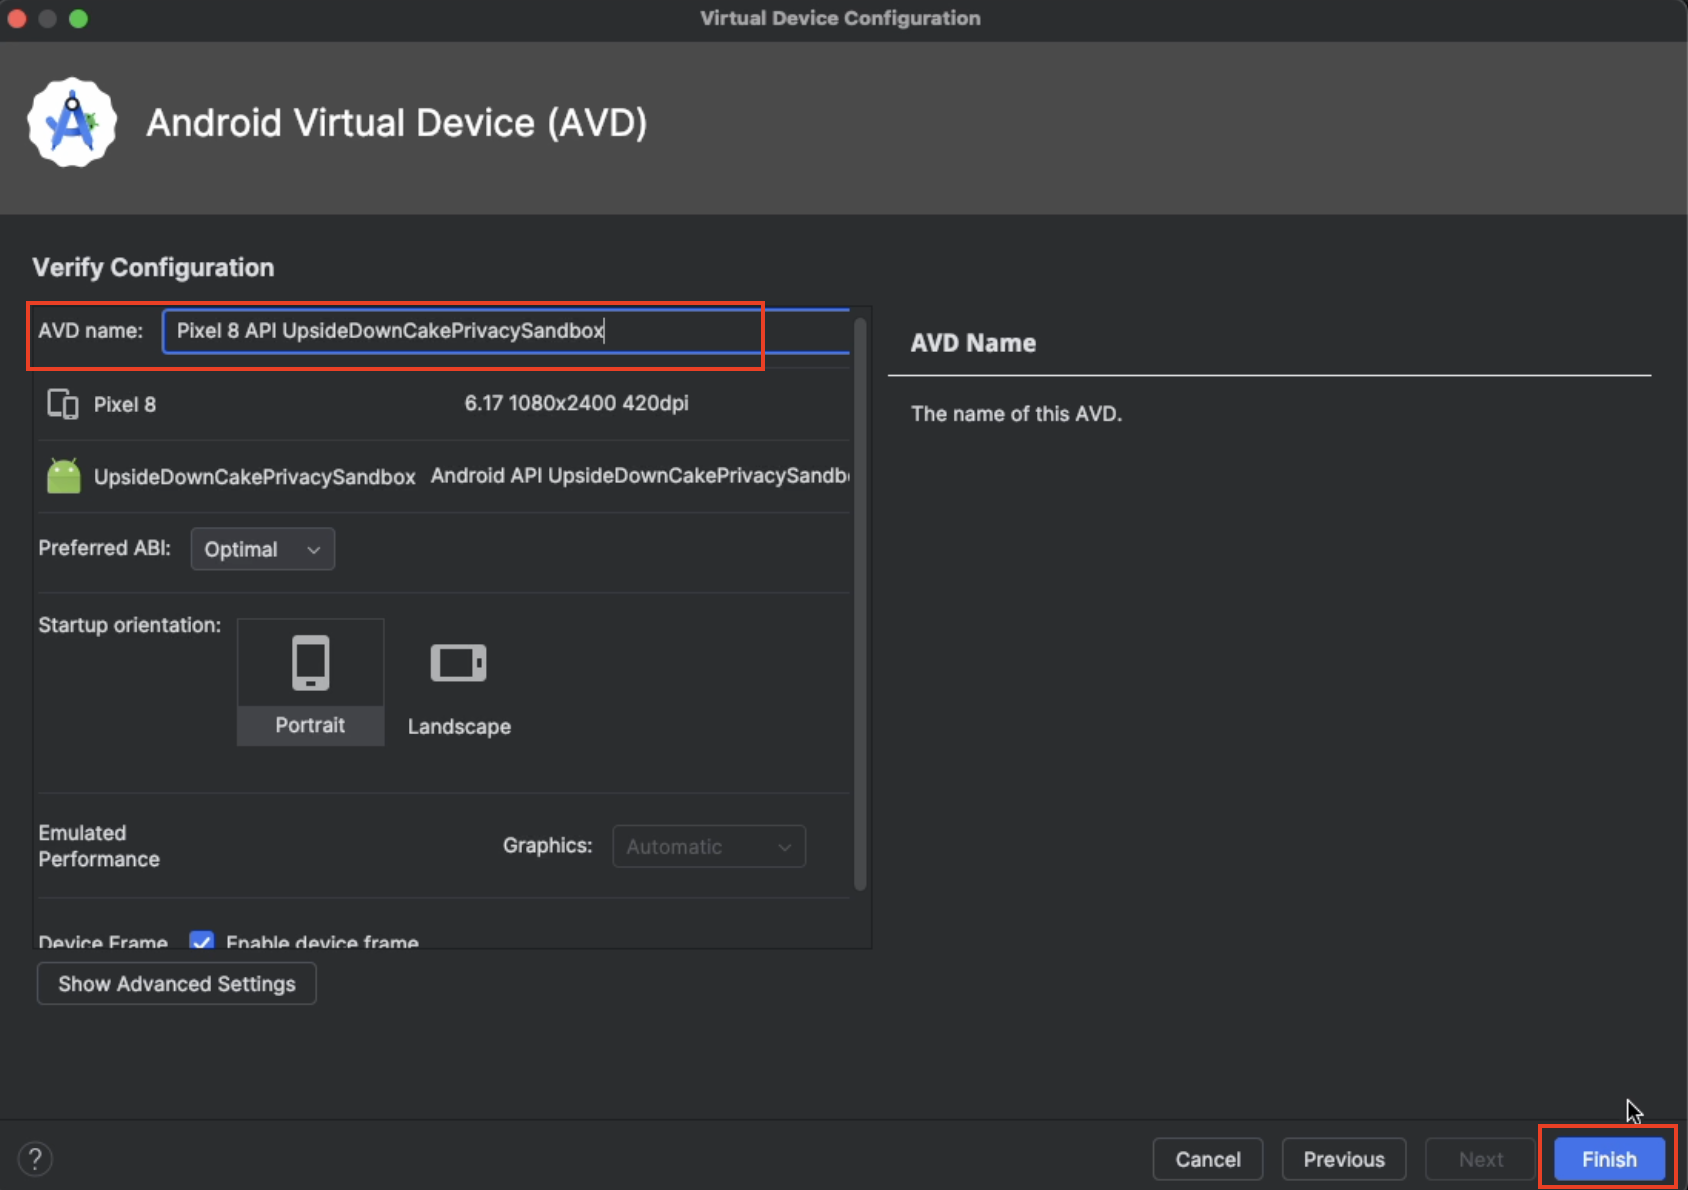
Give a meaningful name to your AVD.
Run the application
The device should appear in the devices list. Select the
playbutton to launch the device.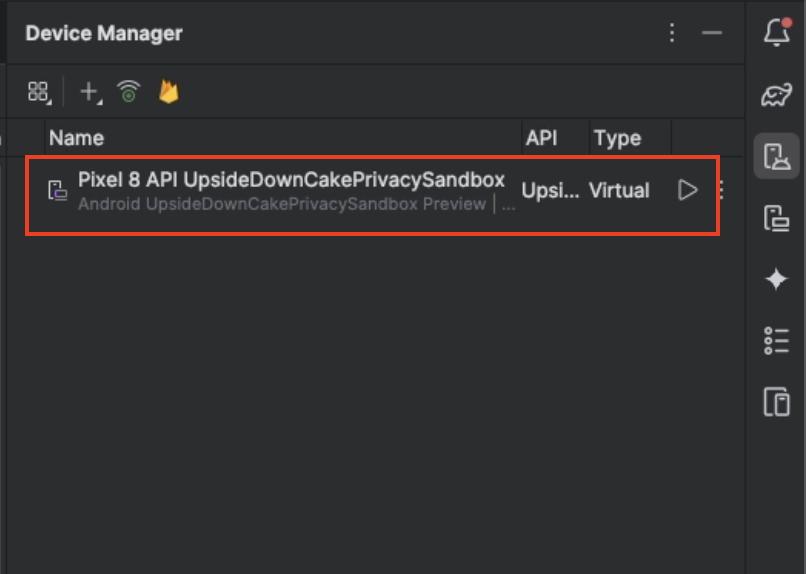
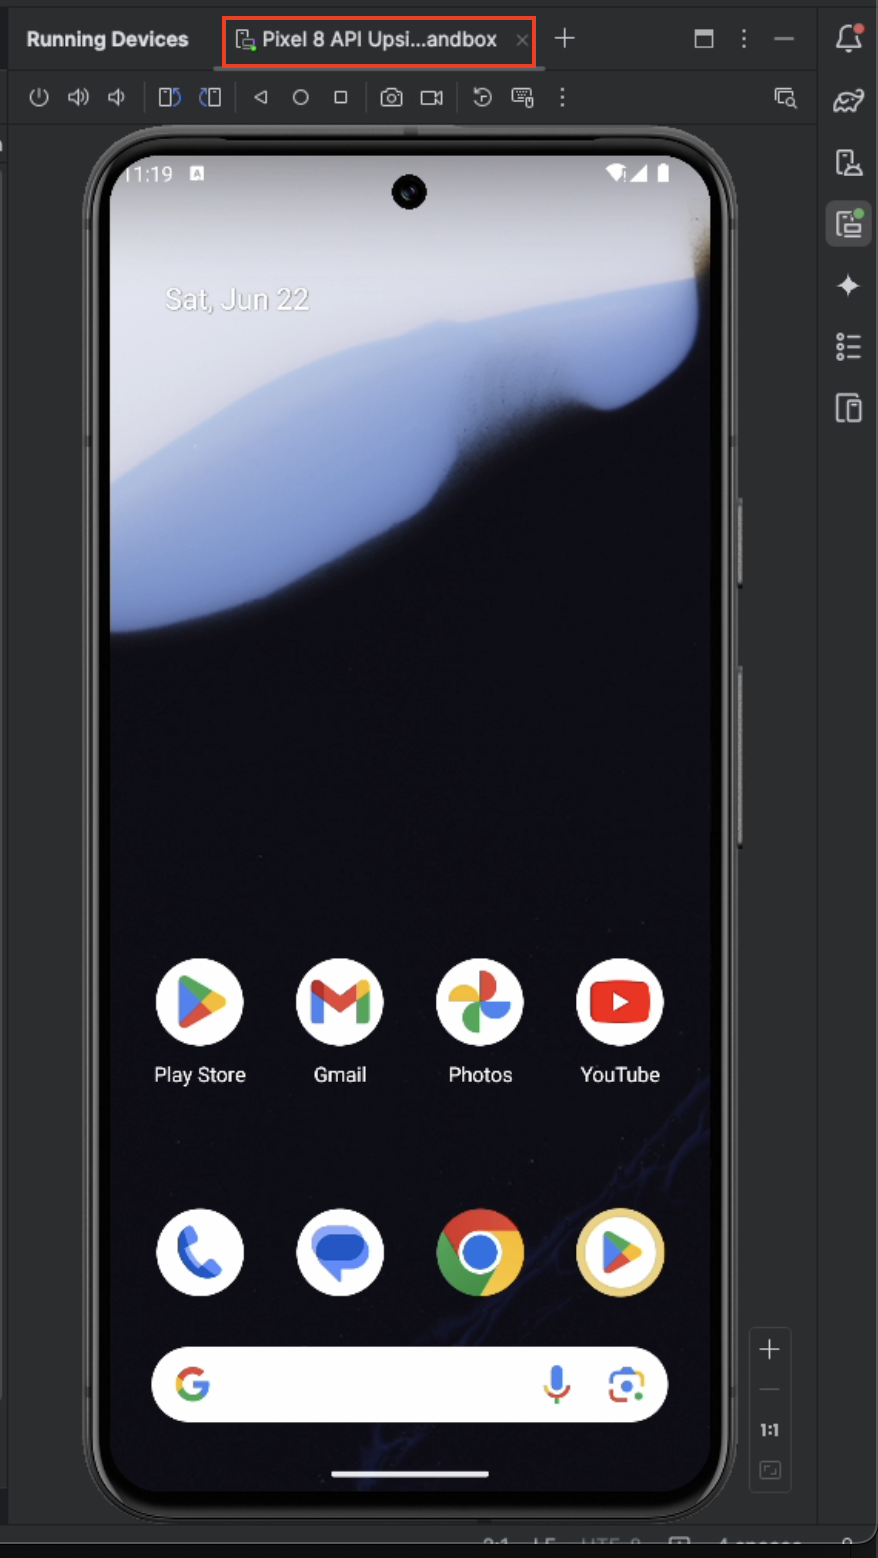
You should see the device launch in the right-side panel.
Device logs will appear at the bottom of the screen. You can minimize the logs for the time being.
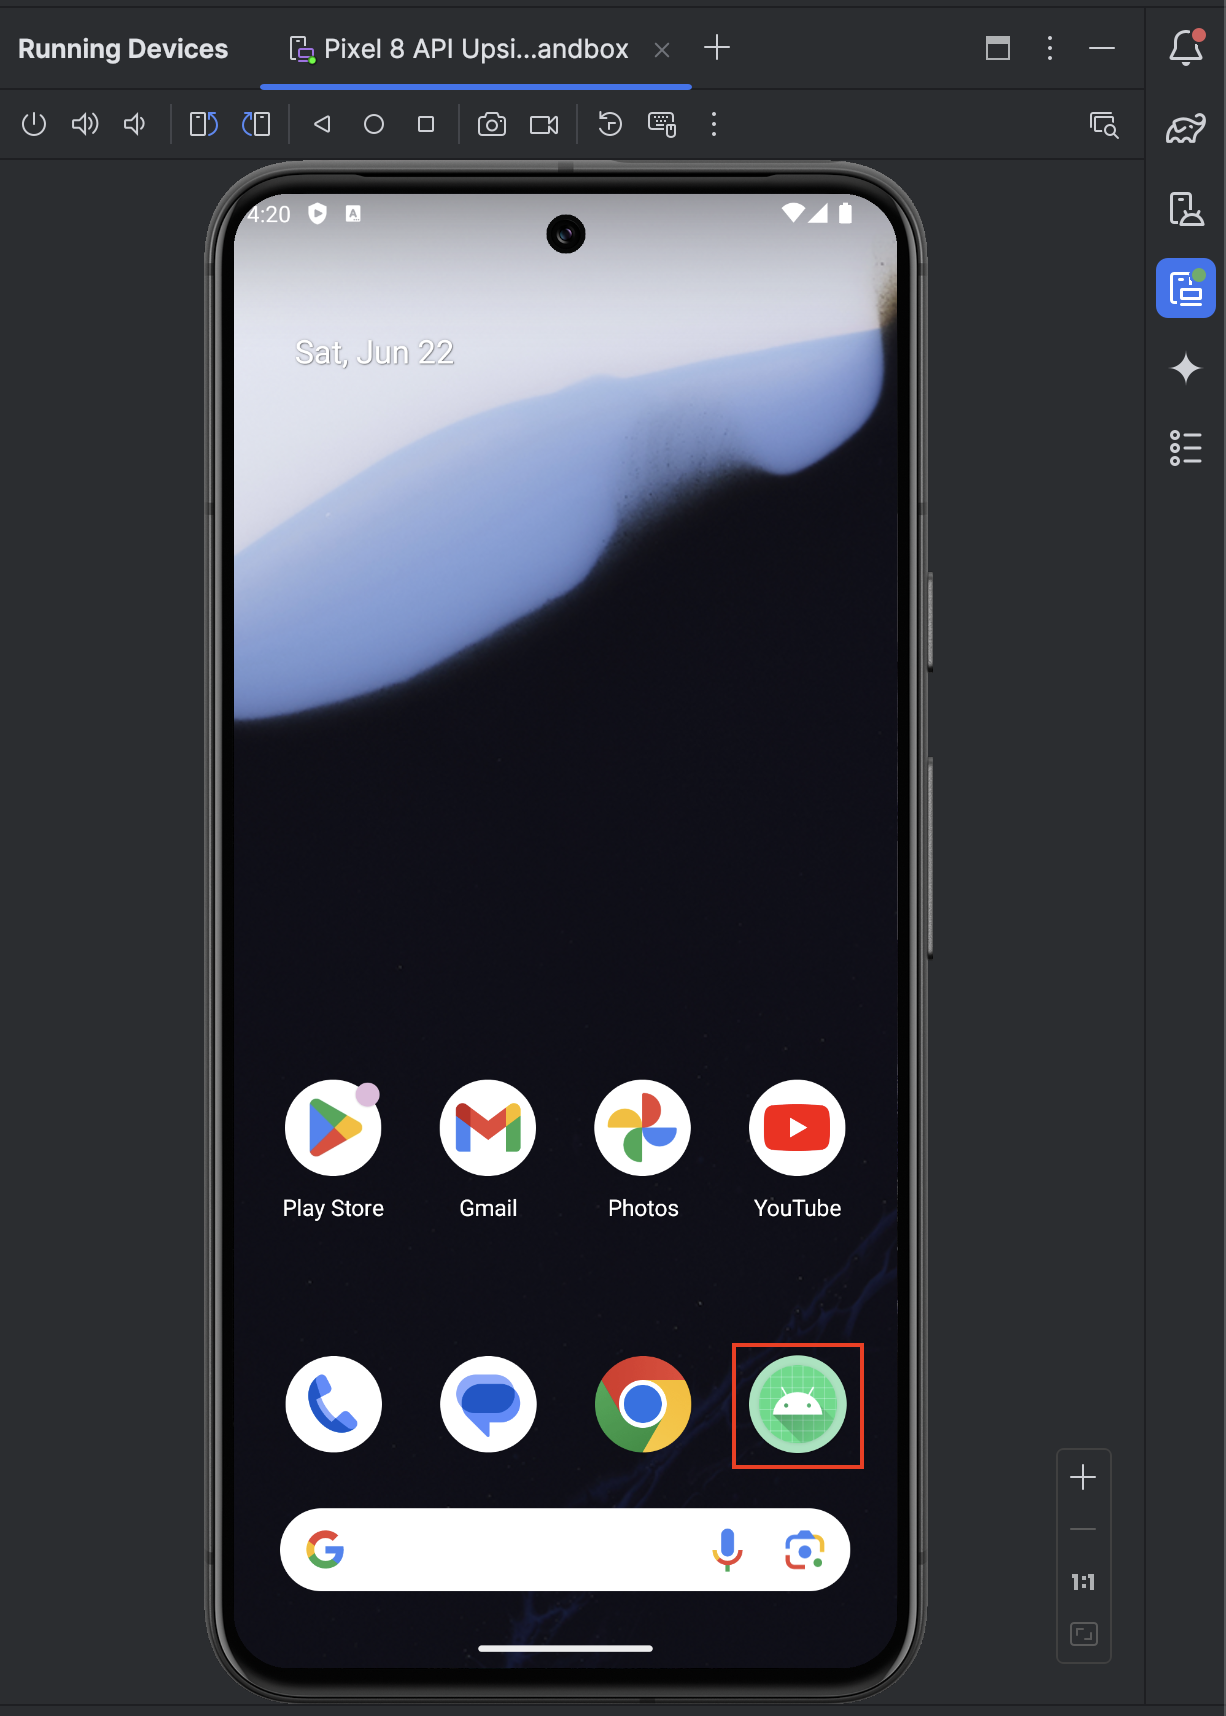
The application is also installed on the device home screen.
You have now successfully installed Android Studio, downloaded the necessary SDK, and set up an Android Virtual Device. You then launch an app on the device! You can use this environment to develop and test your Android applications in the next set of labs.